Homemade sauerkraut sounds fancy, but it’s really just cabbage, salt, and time doing the work. No vinegar, no fancy equipment, no science degree required.
You’re basically creating the perfect environment for good bacteria to throw a party in a jar, and three weeks later you get tangy, crunchy, gut-friendly kraut that beats anything shrink-wrapped from the grocery store.
Why You’ll Love This Homemade Sauerkraut
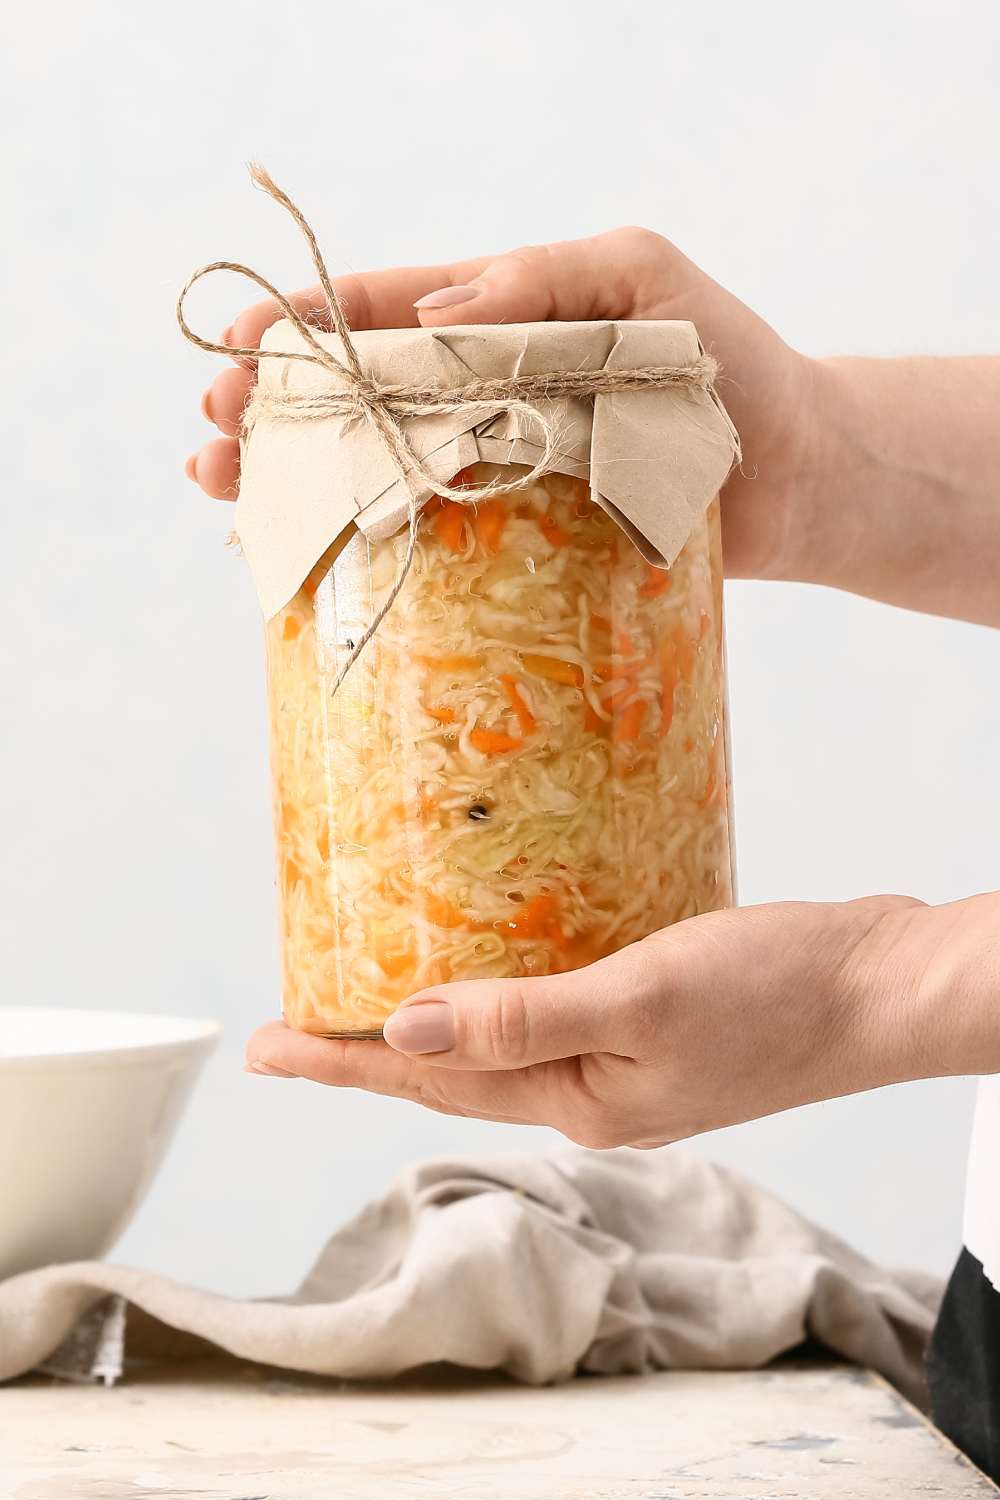
I’ve made about a few dozen batches of sauerkraut, and this is the version I keep coming back to because it’s the simplest one there is. Cabbage, carrot, and salt, nothing else, so it’s about as fail-safe as fermenting gets.
Once you’ve got that basic version down, you can dress it up however you want. Toss in jalapeños, onions, peppercorns, whatever sounds good, and it still turns out great.
That’s what makes it worth making. You end up with something crunchier and tangier than anything sitting in a plastic tub at the store.
Highlights:
- Only needs cabbage, carrot, and salt to work its magic
- Develops a tangy crunch you can’t get from the store
- Packed with gut-friendly probiotics
- Costs pennies and needs zero fancy equipment
Ingredients You’ll Need
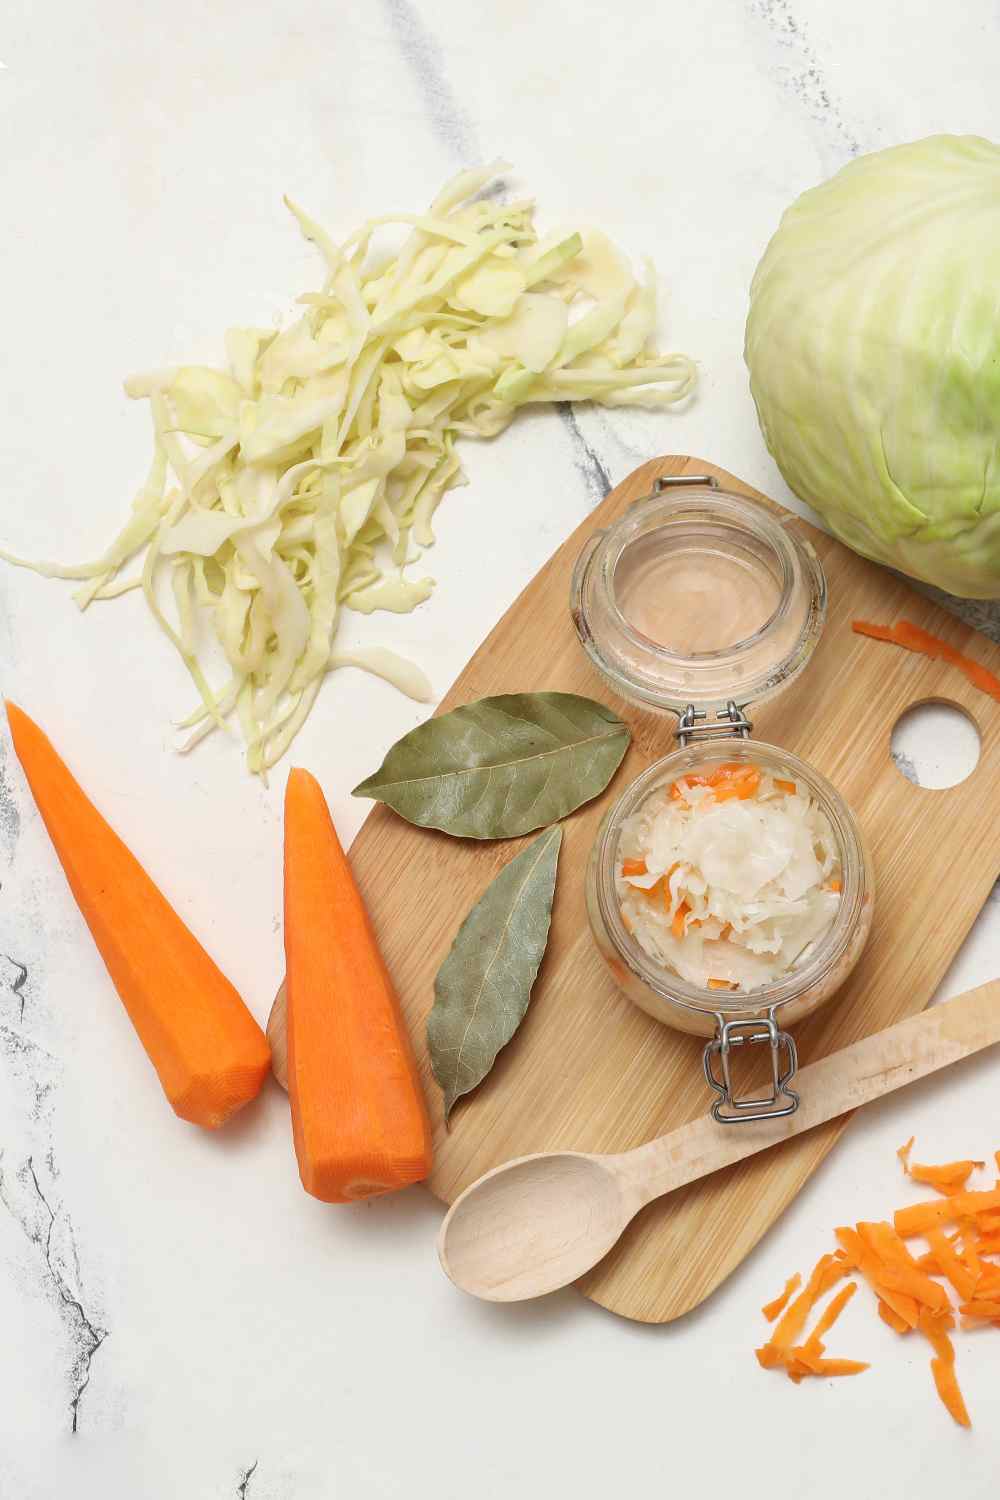
Everything starts with green cabbage, shredded thin enough to break down fast and turn properly crunchy once it ferments. A little grated carrot goes in for sweetness and color, but leave it out entirely if you want classic plain kraut.
Getting the salt right is key and matters more than any other ingredient here. Pickling or kosher salt only, since iodized table salt messes with the fermentation and can leave the whole batch tasting metallic.
Bay leaves and peppercorns are just extras tucked between the layers for flavor. Skip both if you’re after something simpler.
Ingredients:
- Cabbage
- Carrot
- Salt (use pickling or kosher salt. Avoid iodized)
- Bay leaves (optional)
- Peppercorn (optional)
Equipment To Use
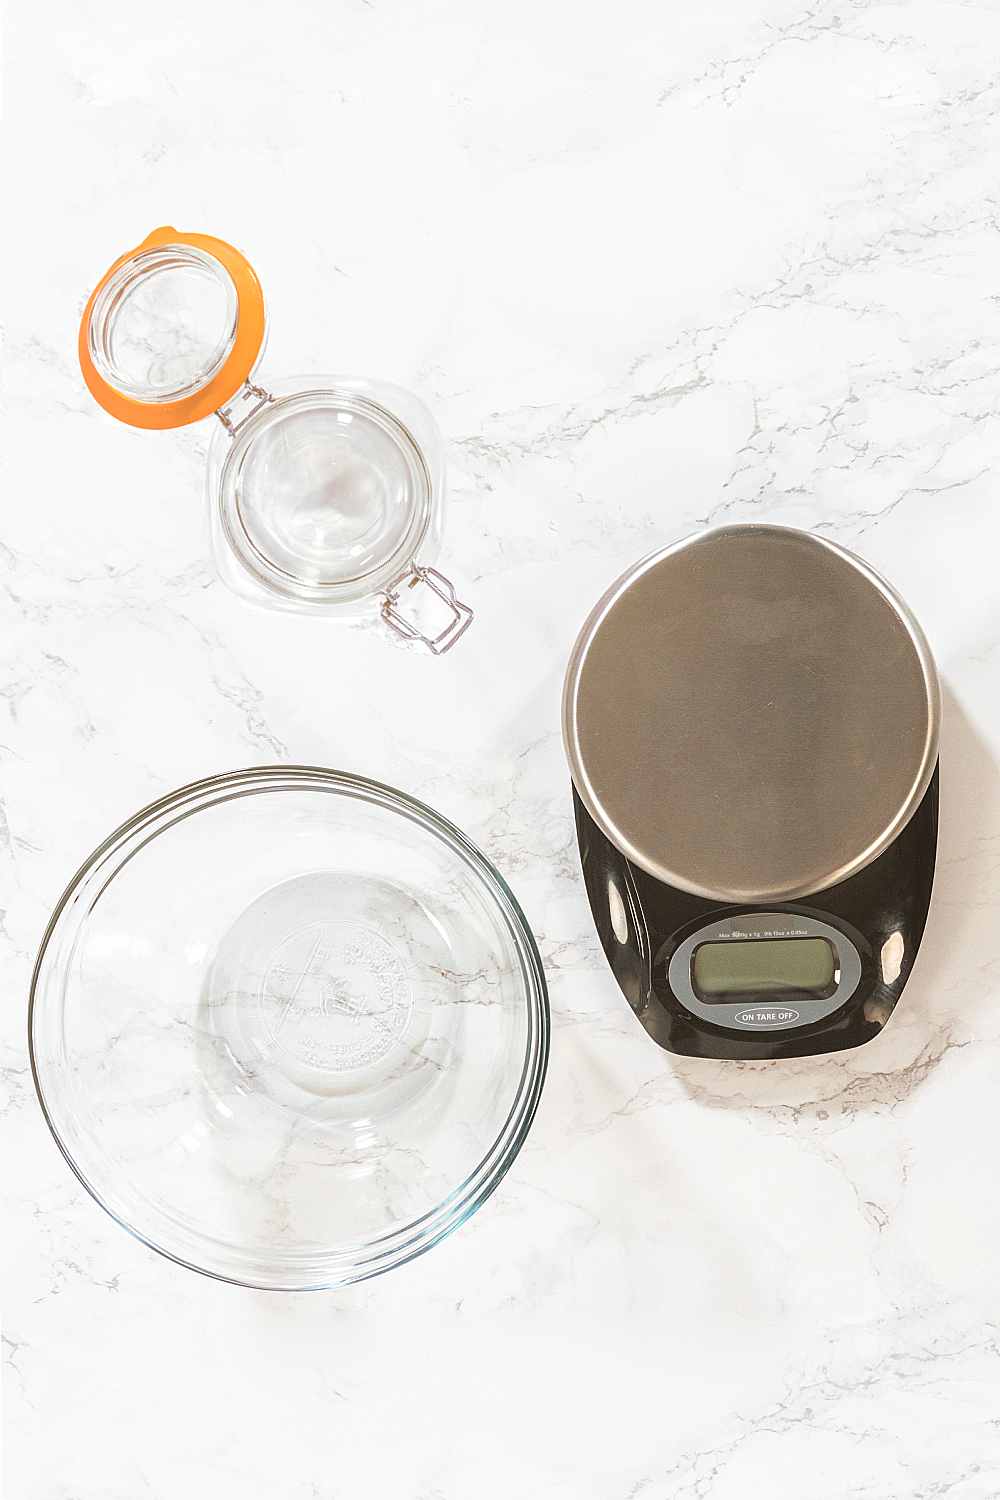
Nothing fancy required here, just a few things you probably already own. The massaging step needs a large bowl with enough room for the cabbage to release its liquid without flinging brine across your kitchen.
From there, it all goes into a large jar, wide-mouthed enough that your fist fits for packing everything down tight.
A kitchen scale is the one non-negotiable, since salt gets measured by weight here, not spoonfuls. A pickling pebble keeps the kraut submerged, though the outer leaves of the cabbage work just as well.
Equipment:
- Large bowl
- Large jar
- Kitchen scale
- Box grater
- Pickling pebble (optional)
Why This Is Good For You
A jar of this stuff is basically a probiotic factory you built on your own counter. All that fermentation churns out live cultures that your gut genuinely loves, no fancy supplement aisle required.
Vitamin C sticks around better here than in cooked cabbage, since nothing gets blasted with heat. You’re also getting a solid hit of vitamin K and fiber without much effort at all.
The best part is how light it stays. A forkful adds crunch and tang to a plate for almost no calories, which makes it an easy habit to keep.
Nutrition:
- Live probiotic cultures
- Vitamin C
- Vitamin K
- Fiber
Step-by-Step Guide
This recipe makes about 2 quarts, and once you see how little effort goes into it, you’ll wonder why you ever paid five bucks a jar for the stuff at the store.
Prep takes maybe 20 minutes, mostly spent massaging cabbage like it owes you money. After that, it’s hands-off.
Total time stretches to a week or two while the jar sits quietly on your counter doing all the actual work.
Step 1: Prep the Cabbage & Carrot
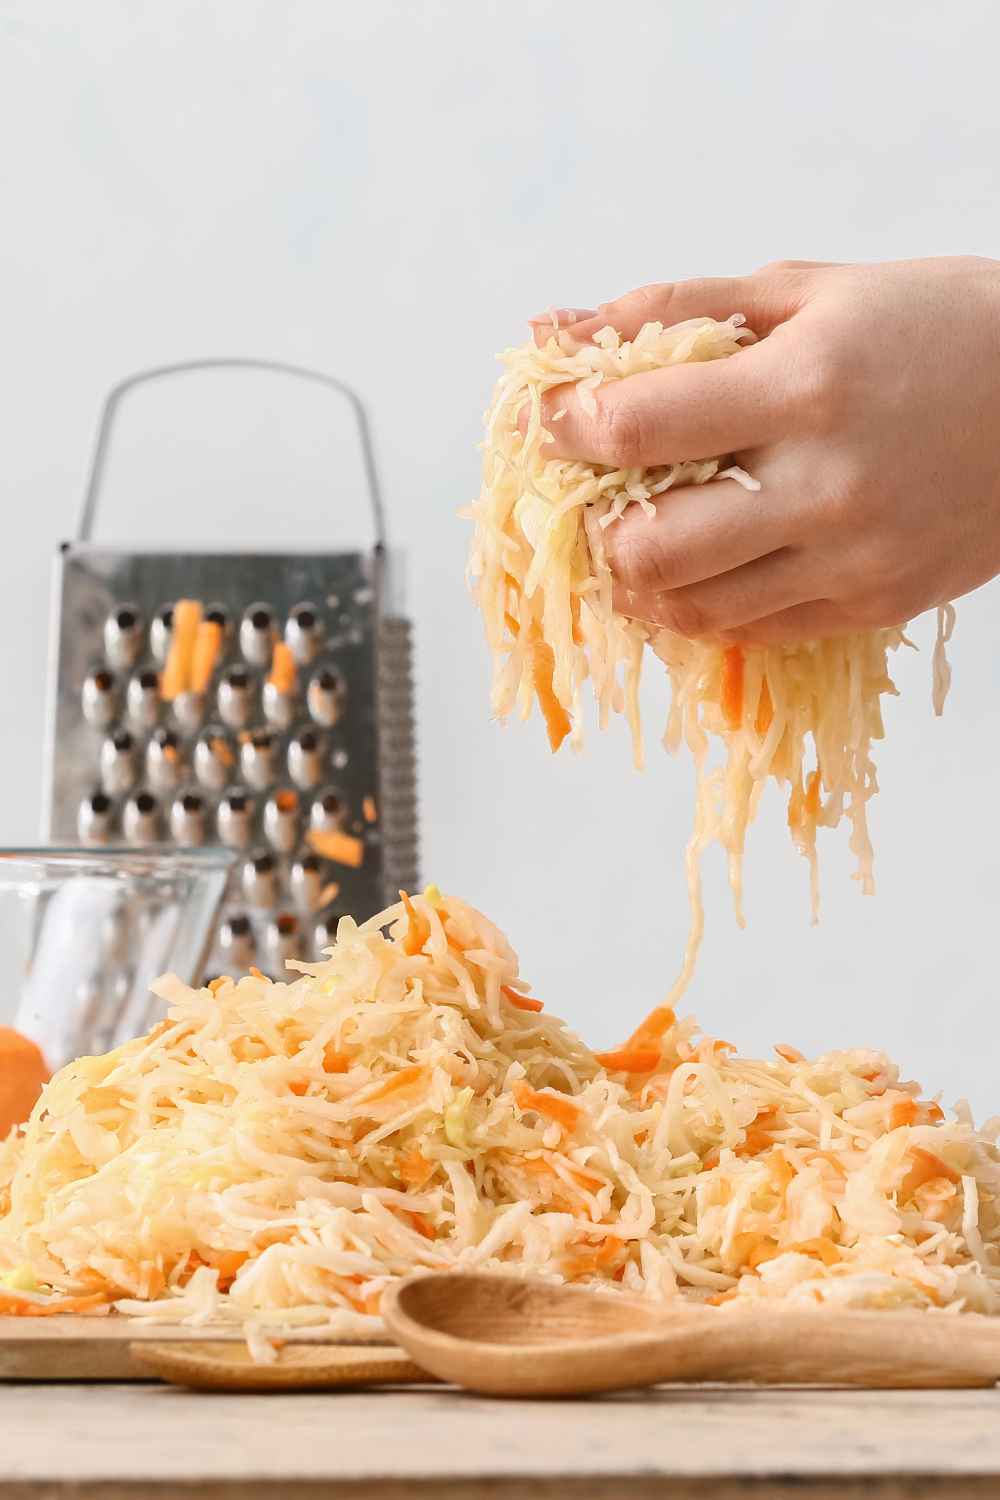
Pull off any wilted outer leaves, then quarter the cabbage and cut out the core.
Slice it into thin ribbons, about a quarter inch wide, either with a sharp knife or a box grater if you want them uniform. Peel the carrot and grate it or cut it into thin matchsticks, then toss both into your largest bowl.
Step 2: Calculate the Amount of Salt Needed
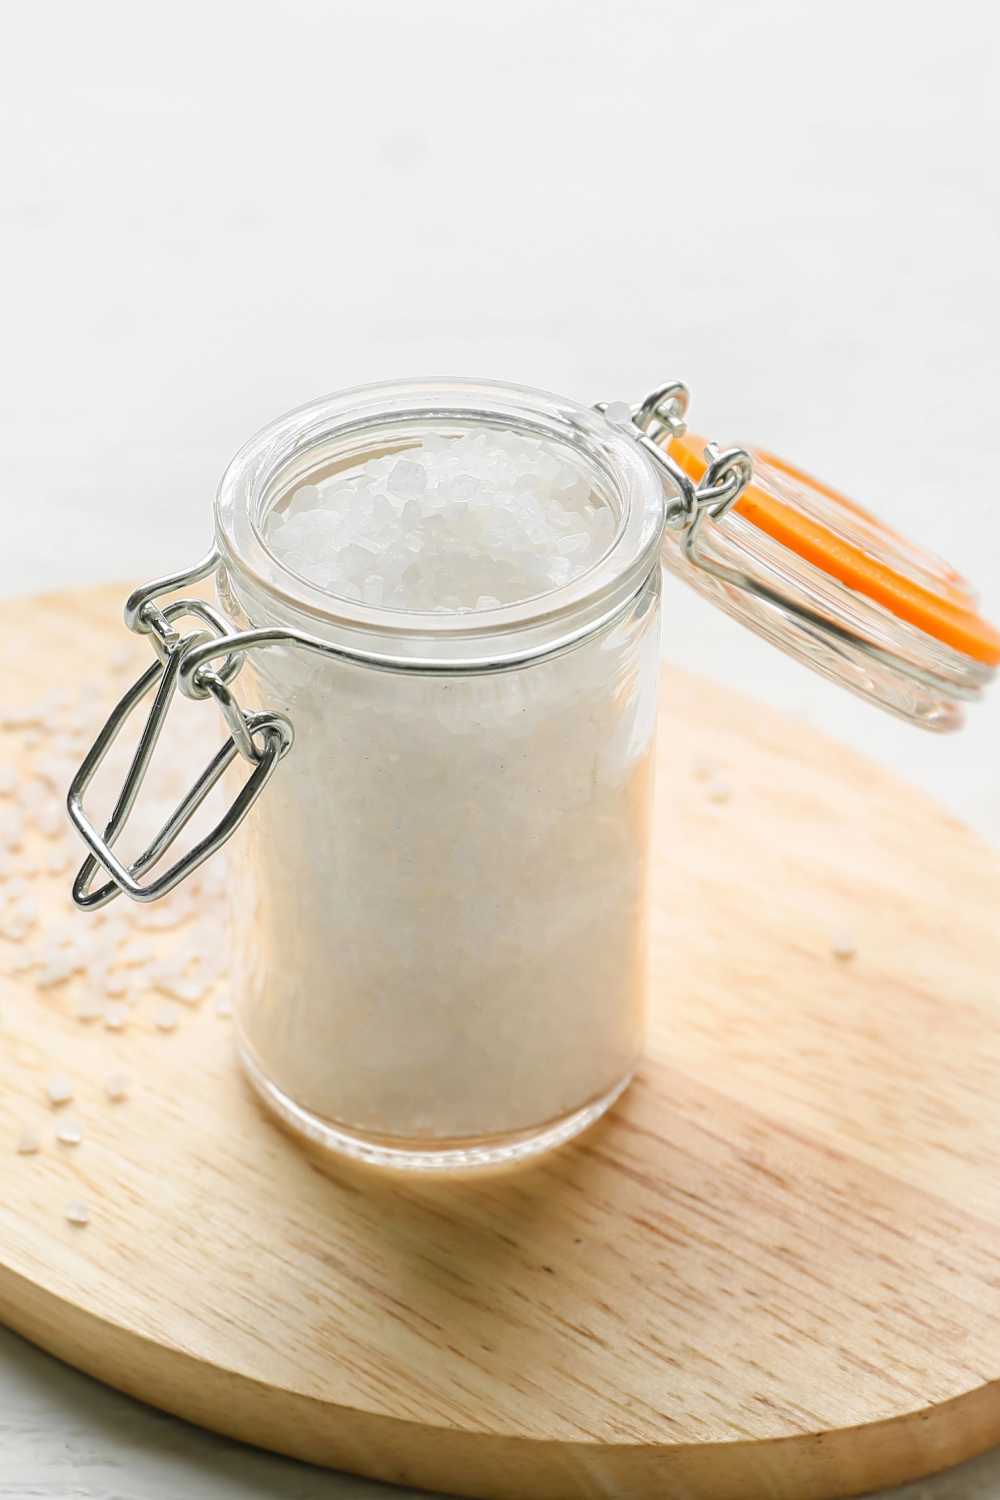
Weigh your shredded cabbage and carrot together on the kitchen scale, then multiply that number by 2%. That’s your salt in grams, and it’s the number that actually matters here, not the cup measurements you’ll see in older recipes.
Too little salt and you risk mold, too much and the ferment stalls out.
Step 3: Salt & Massage the Vegetables
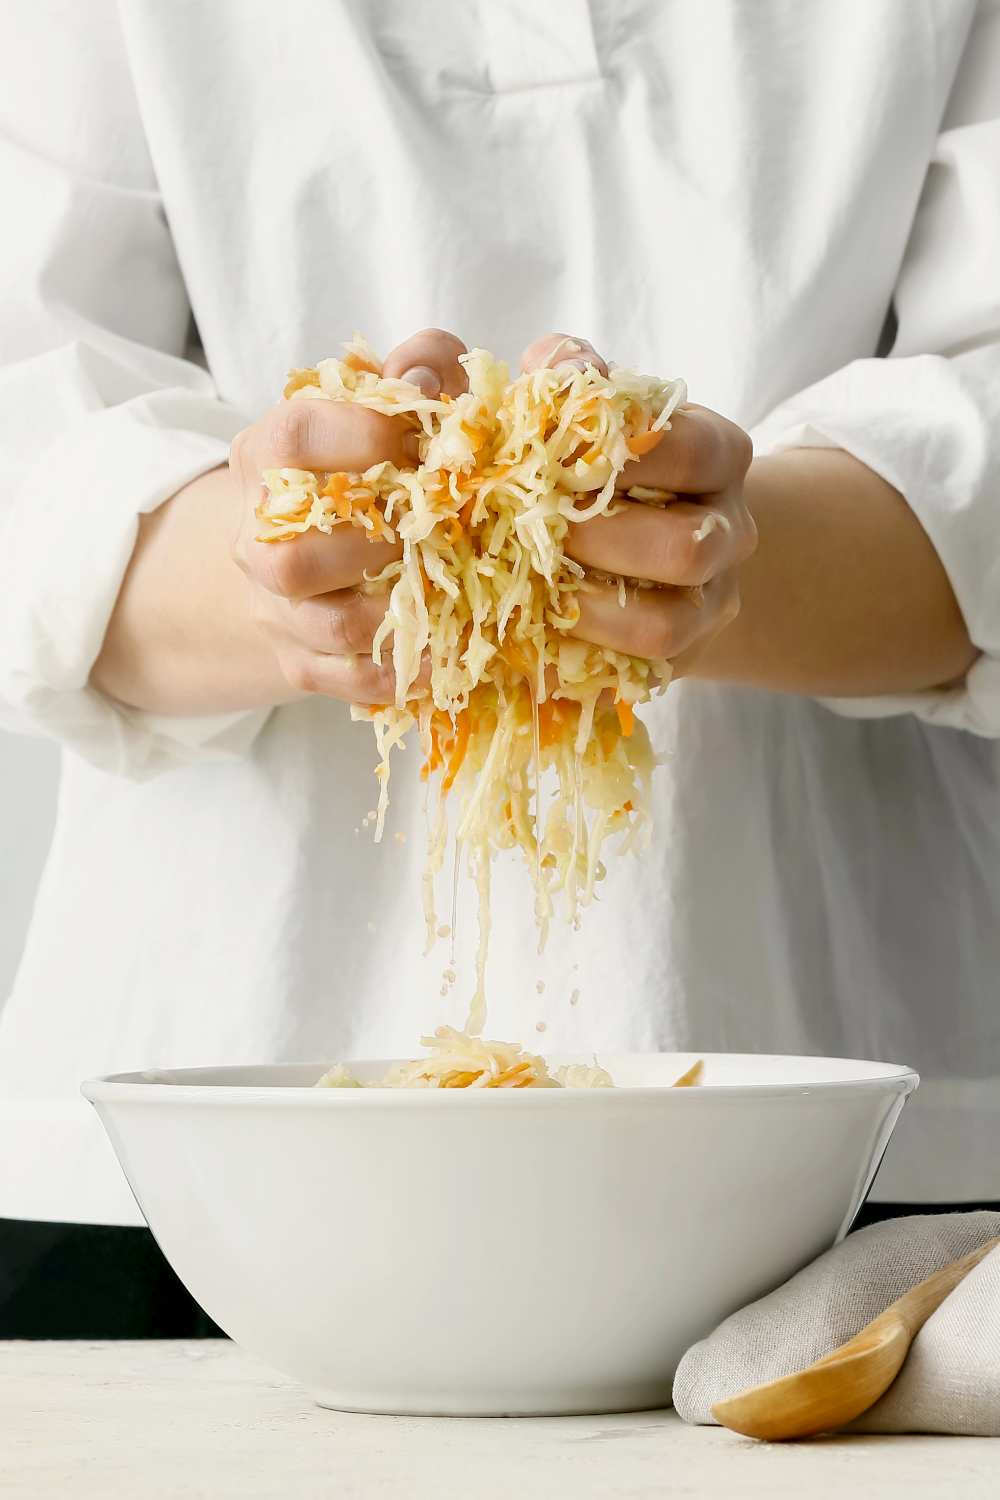
Sprinkle the measured salt over the cabbage and carrot in your large bowl, then get in there with clean hands.
Squeeze and massage for 5 to 10 minutes, and you’ll feel the cabbage go from squeaky and stiff to limp and wet.
That liquid pooling at the bottom is exactly what you want. It’s the brine that’s going to do all the work.
Step 4: Pack Tightly In the Jar
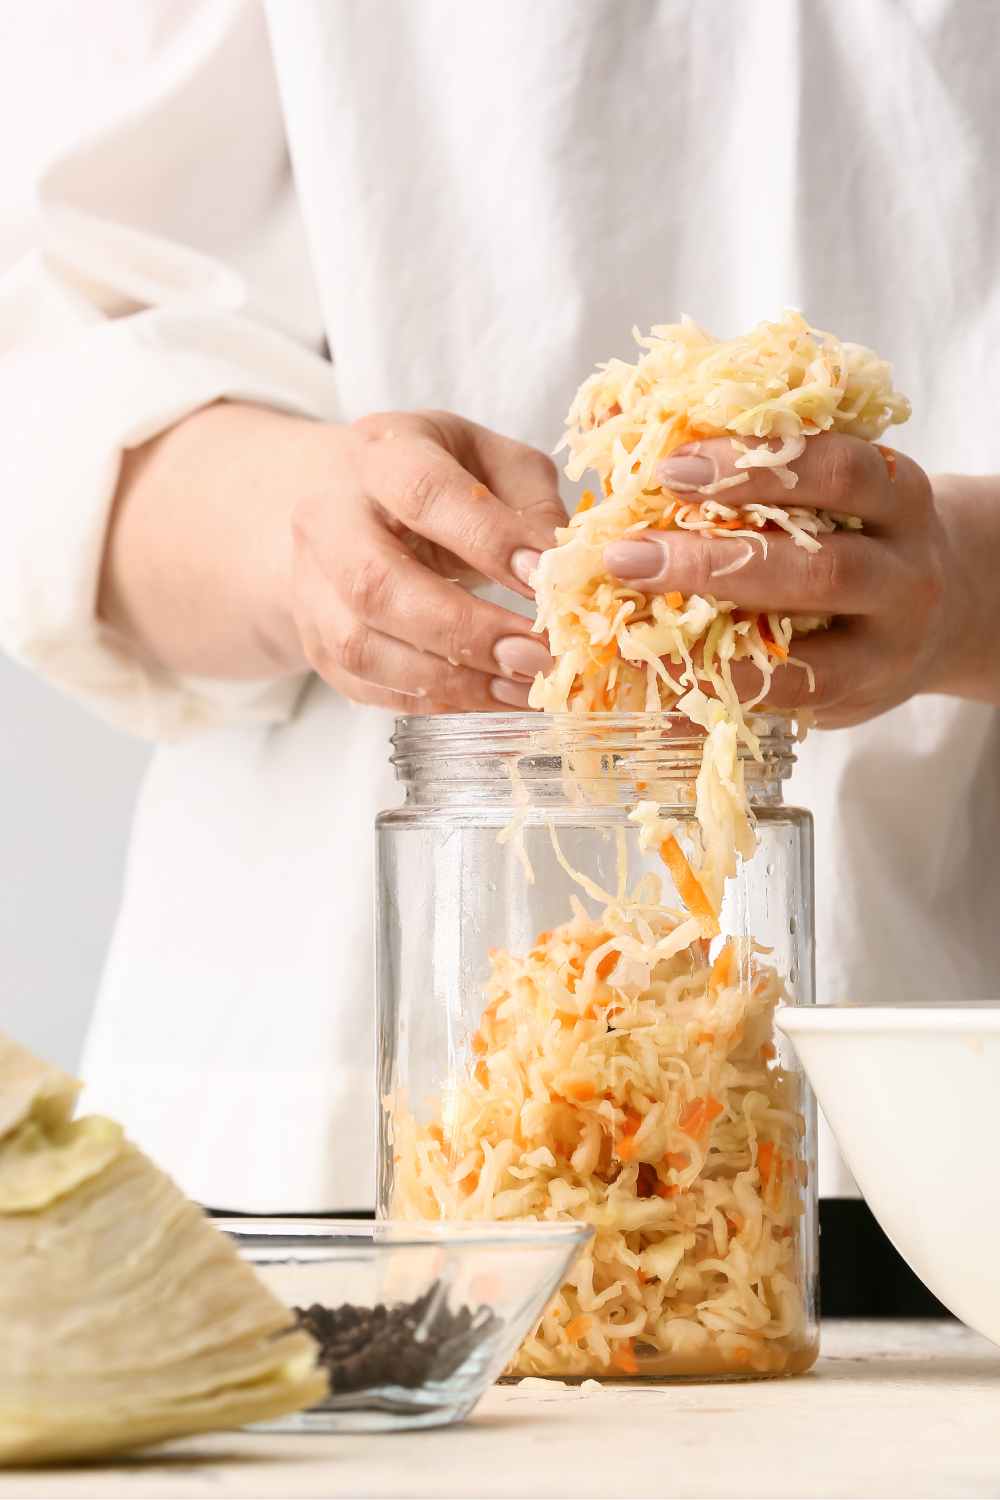
Grab handfuls of the salted cabbage and carrot and shove them into your jar, pressing down hard as you go with your fist or a wooden spoon.
You want to crush out every air pocket you can find, because trapped air is where mold shows up to ruin your week.
Keep packing and pressing until the jar is full and the brine sitting in your bowl starts creeping up over the top of the vegetables.
Step 5: Pour Leftover Brine
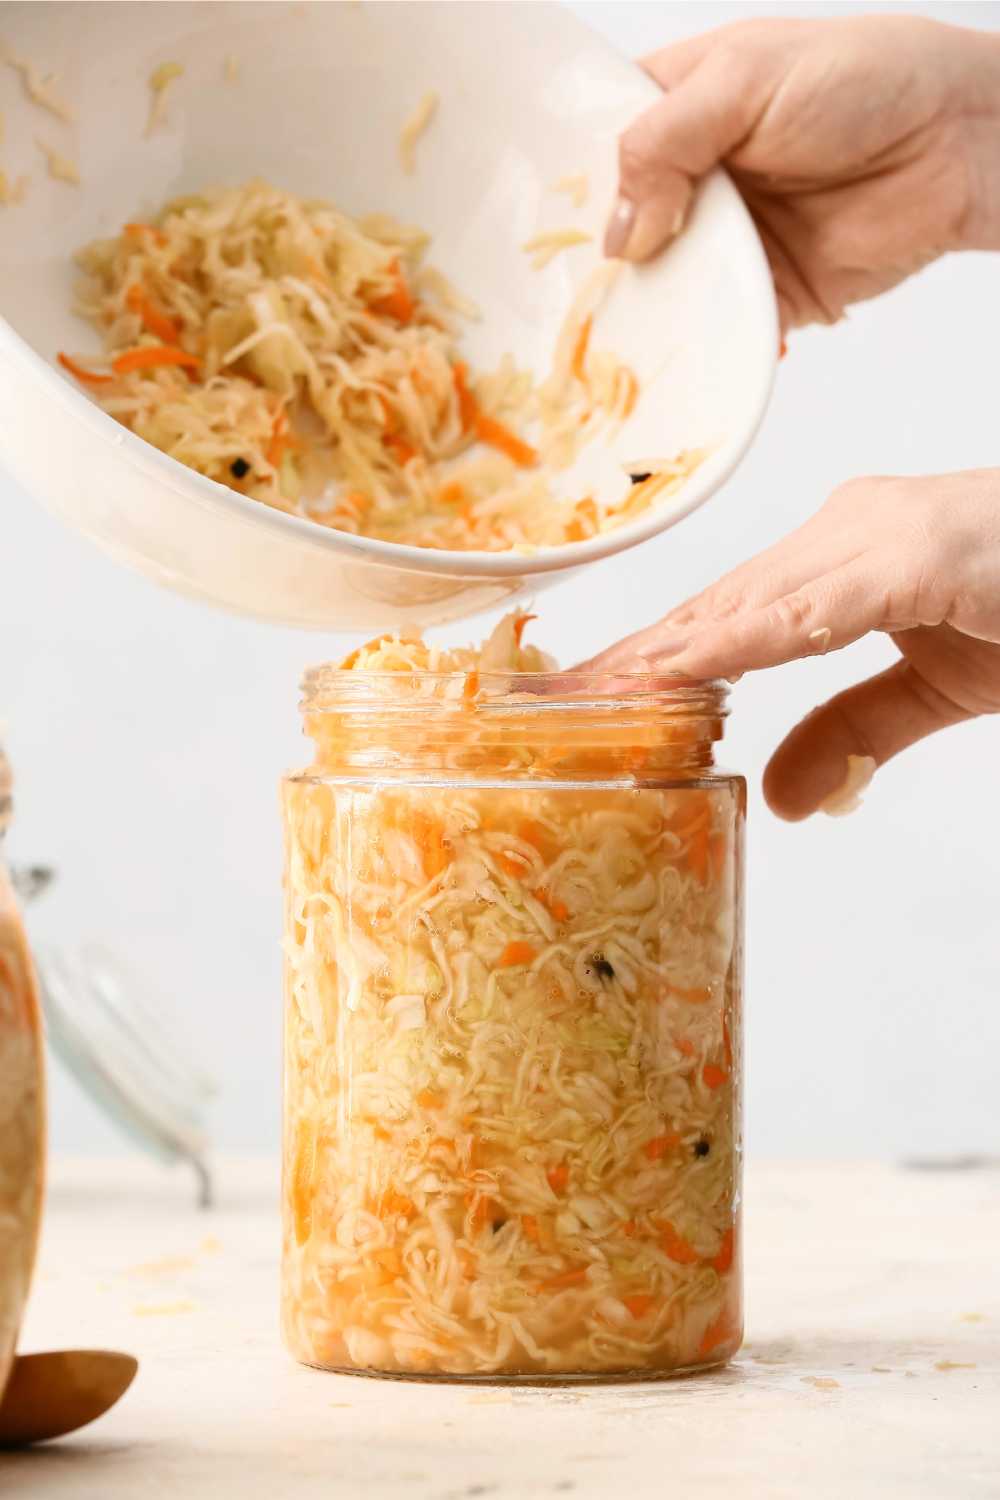
If your cabbage didn’t release quite enough liquid to cover itself in the jar, don’t panic. Pour in any extra brine you mixed up and reserved earlier, topping off until the vegetables sit fully submerged.
This is also your moment to spot any air pockets hiding at the bottom, so give the jar a gentle press to work them out.
Step 6: Submerge the Sauerkraut
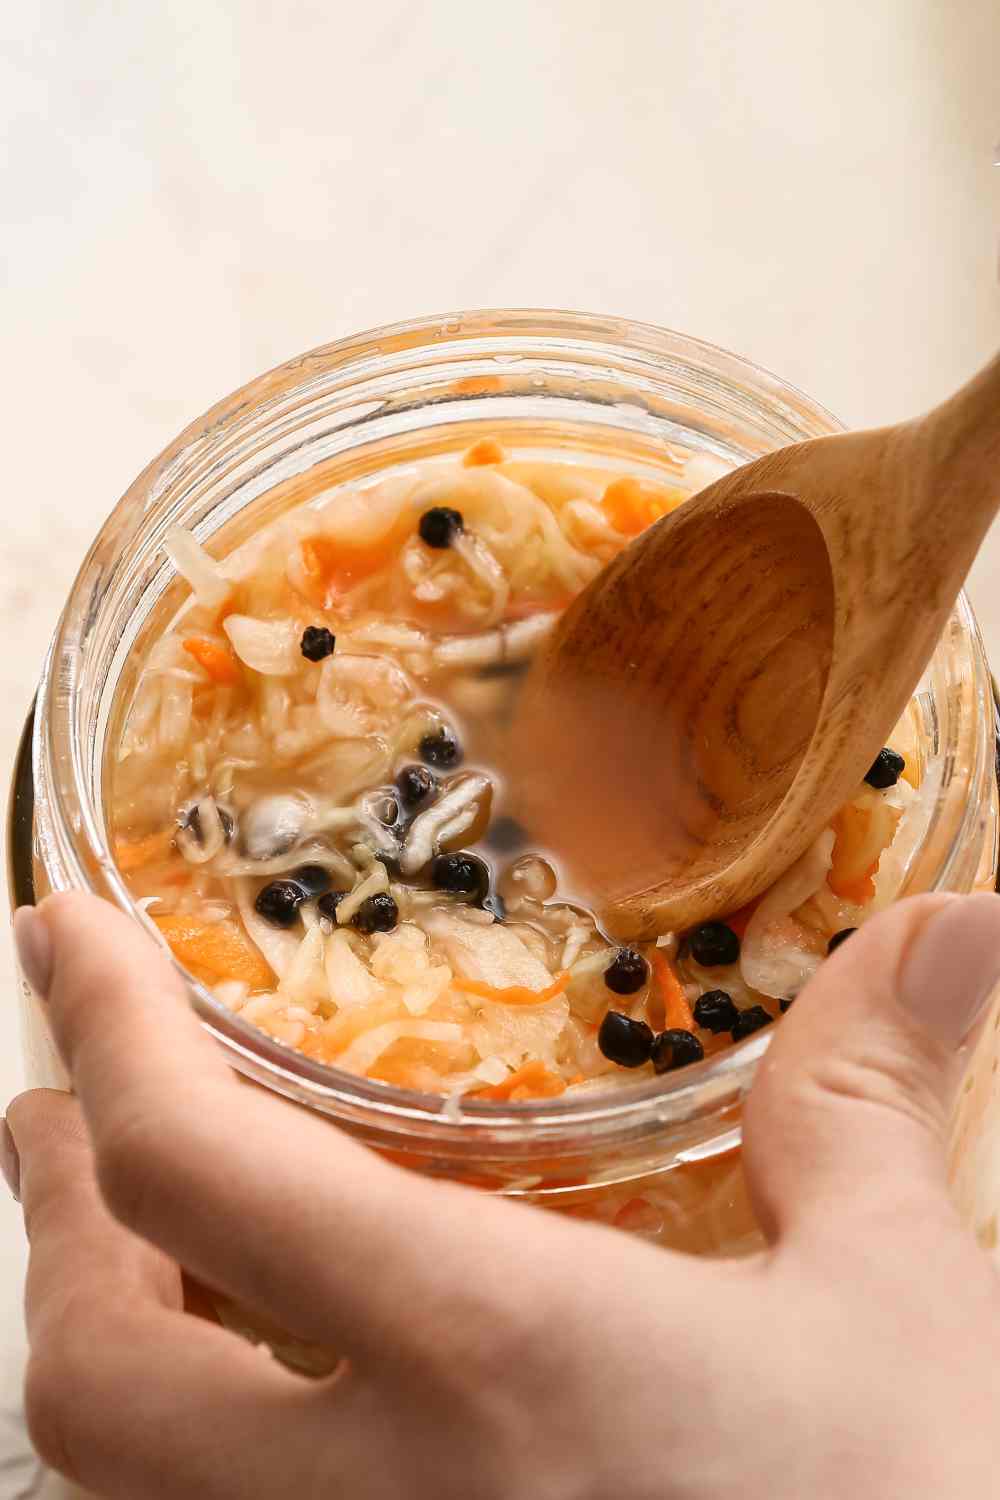
Push everything below the surface of the brine. Use your pickling pebble or the outer cabbage leaves to weigh it down, since anything poking above the liquid will mold fast.
The goal is total submersion for the whole fermentation, so check on it and press it back down if it floats up.
Step 7: Storage

Set the jar somewhere out of direct sunlight and let it sit at room temperature for 3 to 10 days.
Important: Crack the lid once a day to let the buildup of fermentation gas escape, then screw it back down so it stays airtight in between.
Once it’s fermented to your liking, move the jar to the fridge, where it’ll keep for months and only get better.
Important Fermentation Notes
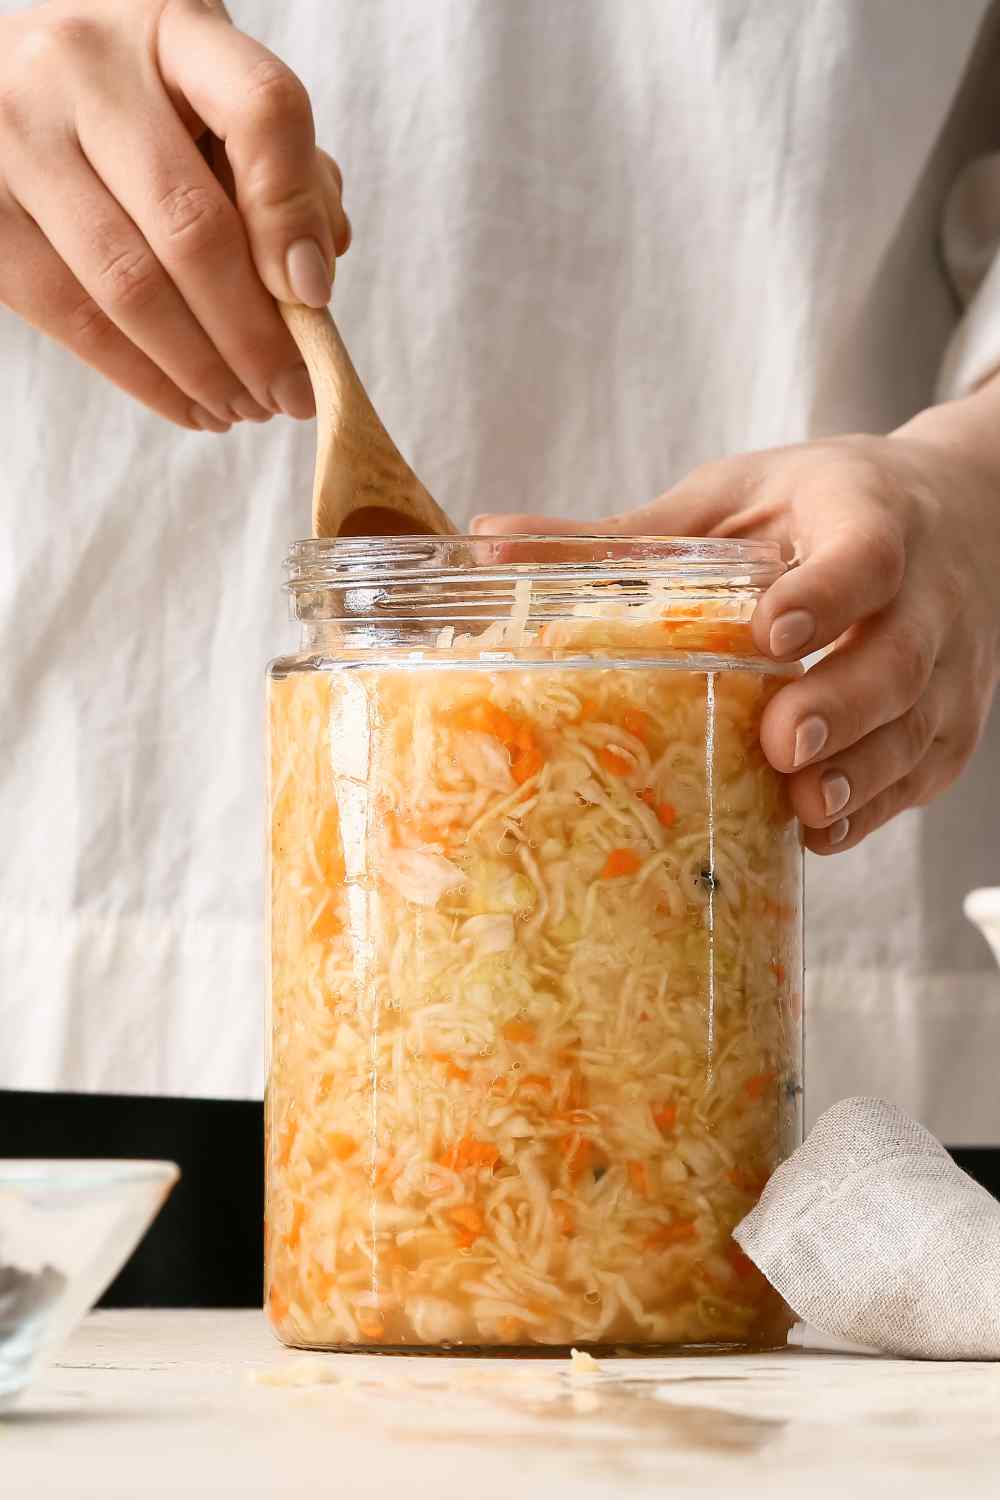
Stick to 2 to 3 percent salt by weight, and you can’t really mess this up. Go lower, and you risk mold, go higher, and it just tastes like a salt lick.
Bubbling and hissing in the first few days is completely normal. That’s fermentation gas escaping. Burp the jar once a day if it’s sealed tight, or just let a pickle pipe do the venting for you.
Once it tastes tangy enough for you, move it to the fridge. Cold storage slows things way down.
Tips:
- Keep salt at 2 to 3 percent by weight for the right texture
- Bubbling and hissing in the first few days is normal fermentation gas
- Burp a sealed jar daily, or use a pickle pipe to vent on its own
- Move it to the fridge once it tastes tangy enough
Recipe Card
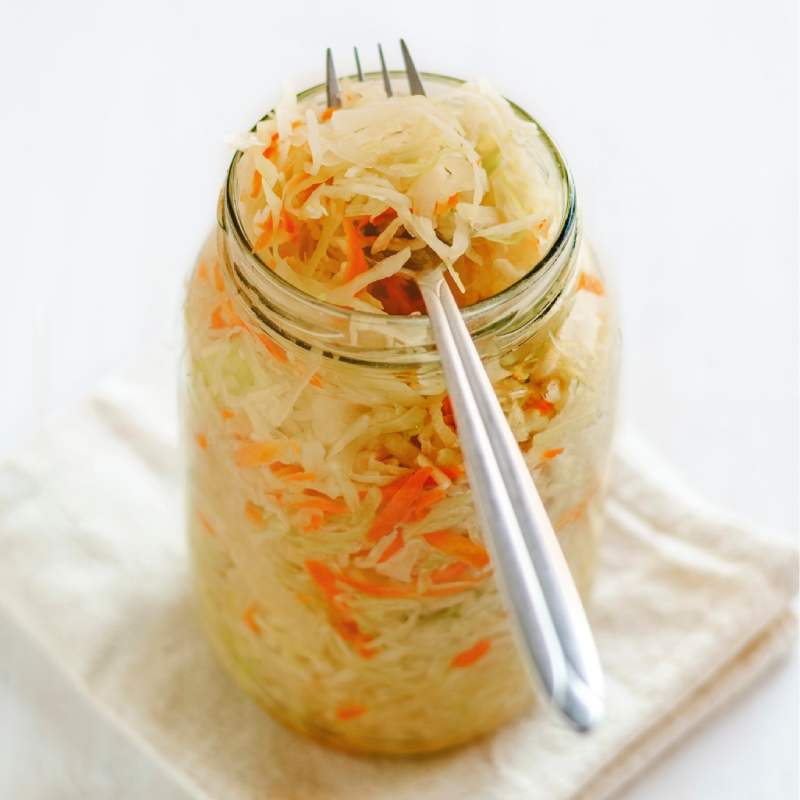
Homemade Sauerkraut Recipe
Equipment
- Kitchen scale
- Large mixing bowl
- Large jar (or a few smaller jars)
- Box grater
- Pickling pebble (optional)
Ingredients
- 1 large cabbage
- 1 large carrot
- Salt (by weight, see below)
- 2 bay leaves (optional)
- 1 teaspoon peppercorns (optional)
Instructions
- Shred the cabbage and carrot into thin strips.
- Weigh the shredded vegetables to calculate 2 percent of their weight in salt.
- Sprinkle the salt over the vegetables and massage until they release their liquid.
- Pack the salted vegetables tightly into the jar, pressing out air pockets as you go.
- Pour any leftover brine from the bowl over the packed vegetables.
- Weigh down the vegetables so they stay fully submerged.
- Store the jar at room temperature for 3 to 10 days, then move it to the fridge.